Which Eyebrow Shape is Perfect for Your Face?

Mar 14

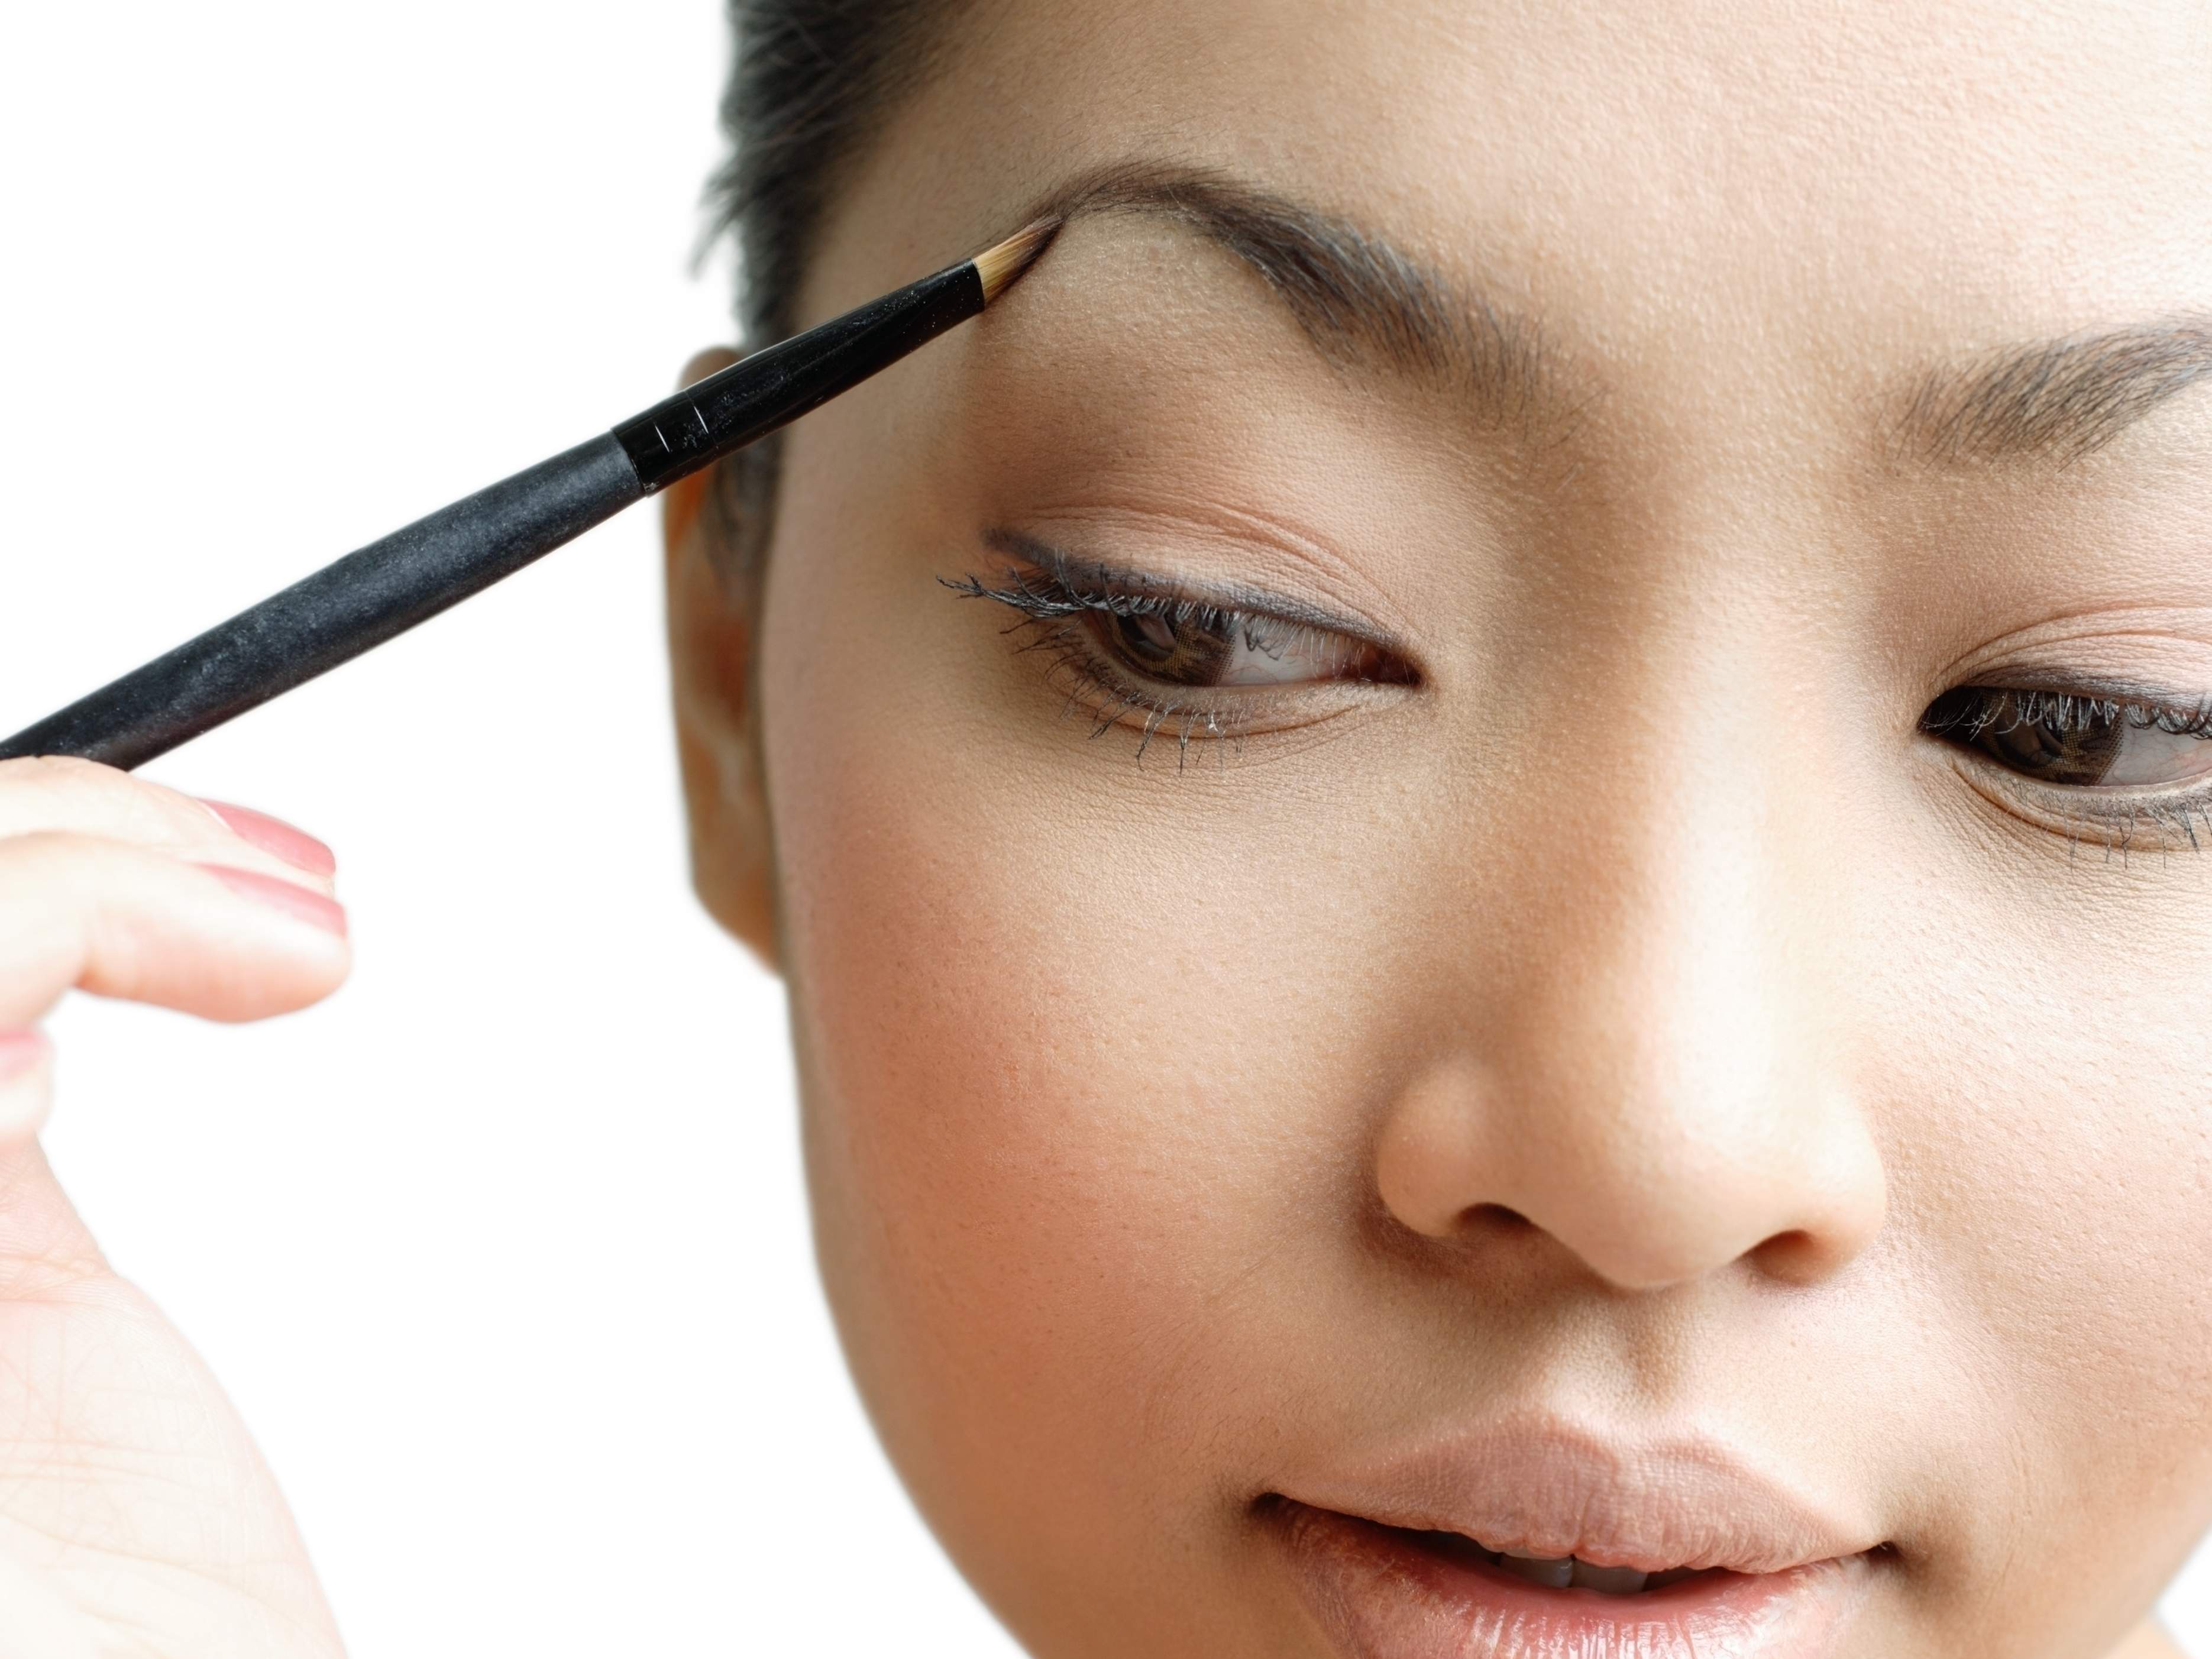
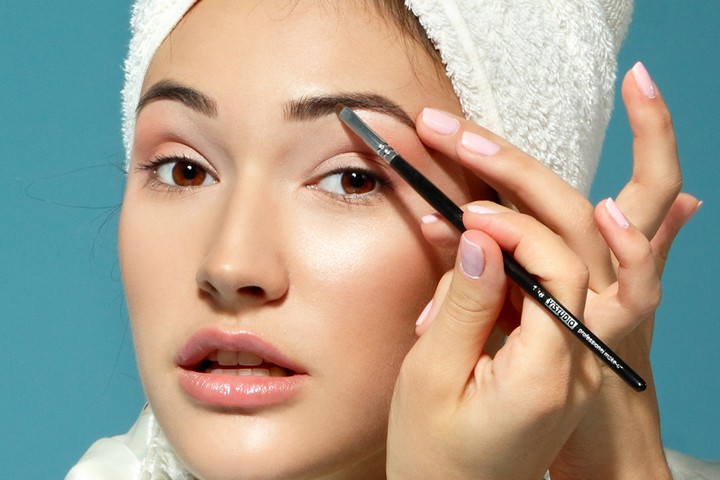
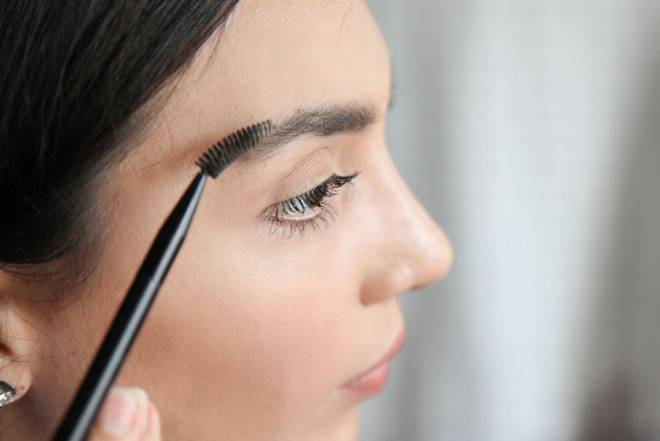
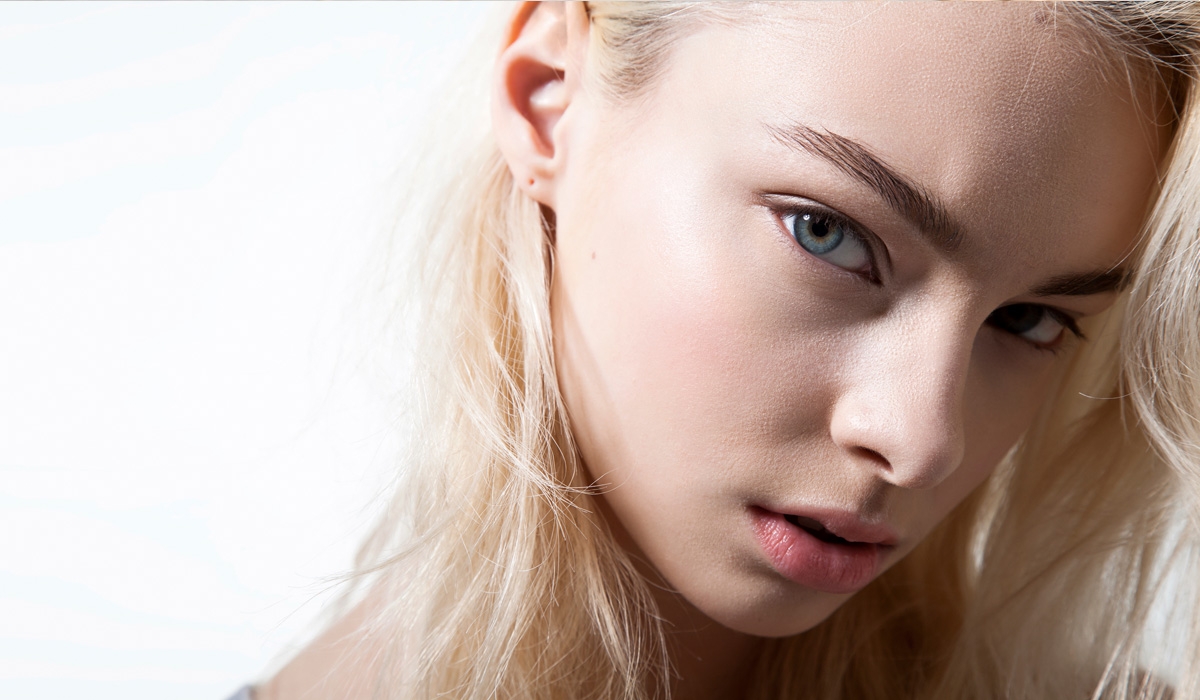
Figuring out the right shape of your eyebrows doesn’t have to be a nerve-wracking experience. In fact, there are various arch shapes and recommendations for your brows based accordingly on your face shape. This is because your facial bone structure serves as the main basis in determining the perfect shape of your eyebrows.

If you are yet to figure out the right eyebrow shape for you, here are some insights about the ideal brows for different facial structures.

Round face
Round face shapes have the cheek area as the widest part of the face, along with a symmetrical length and width of the face. Supermodel Miranda Kerr has this type of facial structure. With a round face, you might want to focus on making your face appear longer and leaner. You can achieve this by drawing a high arched eyebrow shape. If you don’t want your face to appear more round, remember to steer clear of rounded brows!

Oval face
One popular celebrity which has an oval-shaped face is Oprah, characterized by defined cheekbones and a wide forehead. Softly arched brows are right for this kind of facial structure. Hence, you might only simply need to maintain the natural shape of your brows. Avoid shaping your brows too thin, though. Maintaining your brow’s natural shape is most likely to compliment your look.

Square face
Square face shapes have the prominent feature of having a bony and square jawline. An iconic actress which has this kind of face shape is Angelina Jolie. The shape of your brows becomes important if you have a square face, especially when it comes to softening your jawline and restoring balance to your face. To ensure this, have a well-defined sharp arch atop your eyebrows to decrease the square-ness of your face.

Long face
Having a long face means that your facial structure has an elongated shape from the forehead down to the chin. This is similar to the shape of Brooke Shield’s face. Working with this particular shape urges the need to make the face appear shorter, so as to restore balance. A flat eyebrow is best for this face shape since it acts as a horizontal border. Visually speaking, it divides the face and makes it look more proportional.

Heart face
Famous stars like Madonna and Julia Roberts have a heart-shaped face, which tapers towards a pointed chin. This facial structure is also characterized by a prominent forehead, and so the cosmetic goal is to draw attention away from the forehead area while balancing the pointed chin at the same time. A rounded and curved arch is best suited for this particular face shape.

Diamond face
Diamond shaped facial structures are rare. It has highly angular curves that is widest on one’s forehead, thus the focus of this facial shape is to make the temple area look a little less wide than it truly is. A curved shaped eyebrow is ideally suited for this kind of face shape. Having one softens the appearance of the whole face.

Read More

Effective Tips on How to Achieve the Perfect Brows

Mar 14

In the world of beauty and cosmetics, the eyebrows serve as a big part of your overall look. A lot of makeup lovers not only make sure their eyebrows are properly trimmed, but also ensure they’re properly filled in. Getting your eyebrows done perfectly is no piece of cake after all. It requires practice and time, but after some time of doing it, you are likely bound to master the process by heart.

What makes fuller brows?
Beautifully arched and full brows are what’s popular among a lot of beauty gurus. Given a naturally full brows, you do not have to overwork them into achieving that perfectly styled look. You only have to fill in the gaps with brow powder or an eyebrow pencil.

Regardless, there is still a chance for you to achieve fuller brows even if your brows are sparse due to plucking or if you were born with naturally thin brows. This is what makes most makeup products a miracle-giver. The catch? You just have to master the proper application.

This is where the process might get tricky, though. You have to make sure the lines you draw aren’t too hard or obvious. You have to give your brows a soft look; even if you want to boldly fill them in due to their sparse appearance or heavily plucked condition. The thing is, they have to appear as natural as they could!

How to achieve the perfect brows
• Practice. There are different eyebrow arcs suited for respective face shapes. You have to do a little research and figure out the best arch for your own face. After that, allot time on practicing how to draw the shape. Filling in and drawing your brows are similar to that of painting/sketching on a canvas, so you have to be acquainted with the process. Keep it full by the nose and at the arch’s peak for an elegant result.

• Enhance the appearance. Make use of your concealer to highlight the shape of your brows. Dab a little amount on the brow bone to enhance the arch and the brows’ shape. By doing so, it also reveals the hair you missed when plucking. (Given you pluck your brows in trimming them!)

• Take your time. Mastering the perfect shape of your brows isn’t a piece of cake. You have to be patient while doing the process and keep going despite having frequent errors. Also, remember to brush your brows up before you begin drawing to make the task a little easier.

• Start from the center. In order to evenly distribute the brow powder, apply the majority of the product on the center of your brows first. This process is much better than starting heavy on the brows’ edges. From the center, work on consistently distributing the amount to the rest of the brows.

Read More

5-Step Guide to a Perfect Messy Hair

Aug 24

Achieving perfect hairstyles with straightener and curling iron can get tiresome in the long run. Regardless of your hair’s length, adding some rough texture is one of the simplest ways to change and style up your strands with little effort. So use these five step guide below as an inspiration for your next messy-chic hair look.

Jean Louis David-Medium-Blonde-wavy-hairstyles

  1. Start with a Hair Primer. Hair primers only came into our attention in the past few years, but that’s already enough time to realize as to how critical they are for laying down and ensuring that your look lasts throughout the day. Not only does it hydrate, protect and detangle your hair, it also optimizes the performance and lasting power of its fellow styling products and tools to achieve that chic messy-on-purpose look.


  1. Use a Blow Dryer. If there’s one glorious thing about messy hair, it would be not needing some serious blow drying skills. In fact, you can just blow dry your hair any way you want to. You can put some time and effort to achieve a rather polished messy texture, or start with a smooth blowout. Just remember to avoid using too much product though, as it can weigh your hair down. Instead, start off with some heat-activated volumizing hair product to add some grit and boost your look.


  1. Work with Hair Creams. Not fond of blow drying? Then try working on your messy hair texture using hair creams like Bumble and bumble Don’t Blow It. What’s amazing about this product is that it brings out the hair’s natural wavy texture, while adding a touch of hold without any product-y feel. It’s simply a dream cream for anyone who’s more interested in a low-maintenance take on achieving the messy hair look.

41oMq3r3PSL

  1. Create Loose, Sexy Waves. Once your hair has completely dried out, it’s now time to work with what you’ve got. For an added texture and volume, going with a curling wand would be your best bet as it allows you to create soft, sexy and flattering waves. Just use your fingers to tousle and separate your strands to achieve a look that isn’t too structured.


  1. Texturize Your Hair. Once you’ve established your style, this is the time that you add in the dishevelled texture that you want. To achieve this, the best weapon of choice would be a dry texturizing spray. A generous spray of Oribe Dry Texturizing Spray is already enough to whip up even the most lacklustre hair into gorgeous messy waves. Simply use your fingers to twirl and scrunch in sections until you reach your desired texture.

Adding texture and volume to your strands is definitely one of the easiest ways to change up your look, and with this easy guide, it’s now possible for an on-the-go girl like you to achieve that perfect messy-on-purpose look.

oribe

Read More

5 Must-Try Natural Makeup Removers

Aug 19

Although we don’t bluntly say it, our makeup remover is definitely one of our favourite beauty products. Sure, we always look for our facial oils, we rely on our trusty sunscreens and we couldn’t live without our cleansers. But nothing is more satisfying than removing your makeup after a long tiring day using a natural makeup remover. To figure out which natural product best works for you, we’ve listed down five of the best natural makeup removers that you can easily find in your kitchen pantry.

DIY_makeup_removers

  1. Avocado. Other than helping you stick with your diet, avocado also works wonders at removing eye makeup. Just use a clean Q-tip to graze out some avocado oil to remove your caked up eyeliner, mascara and eyeshadow. What makes avocado great is while it removes eye makeup, it also conditions your eye area with vitamin E. Plus, it rinses off really clean without blocking your pores, making it a perfect makeup remover for especially for people with acne-prone or sensitive skin.


  1. Coconut Oil. If you have a rather dry skin, then coconut oil is your best bet in moisturizing your skin and removing makeup at the same time. Simply scoop a small amount of the oil and gently rub it all over your face to remove your concealer and foundation. Once you’re done, wipe it off with a clean tissue or cotton ball then rinse your face to remove excess gunk. Now you have a clean, but not stripped, face.


  1. Milk. You’ve probably heard of milk cleansing. Well, it turns out that your plain old milk isn’t just great for milk baths and cleansing, it also works wonders as a natural makeup remover. All you’ve got to do is dab a cotton pad in a cup of milk and rub it all your face, including your eyelids. Not only will this remove your makeup, it’ll also freshen up and exfoliate your skin. Just make sure that you thoroughly rinse your face afterwards.

Milk Splash

  1. Cucumber. With cucumber’s oil-busting and anti-inflammatory properties, it’s easy to see why products infused with cucumber has been trending hard in the beauty world. For a more natural alternative, chop up a few slices of cucumber, mix it with cold water, and swipe the mixture all over your face. You’ll be amazed as to how well it removes dirt, oil and residual makeup, while calming your skin.


  1. Banana. Want to moisturize your skin as you clean it? Then your good old banana is all that you need. Just mash up a banana into paste before applying it all over face like a mask, and leave it on for five minutes to allow the enzymes to remove dirt and makeup from your pores. Once you’re done, rinse if off using a warm wash cloth to get a smooth, clean and dreamily hydrated skin.

Now that you know this all-natural makeup removers, you can now easily remove any dirt or makeup residual off your face even if you run out of your trusted drugstore makeup remover.
3-banana-pancake1

Read More

Eyeshadow Hacks That You Need to Know

Aug 13

Although it’s a simple makeup product, eyeshadow can be an intimidating product even to the most experienced makeup junkie. Primers, palettes, colours, creasing and blending, this is already enough to make your head spin. But by following these eyeshadow hacks, creating a fabulous eye look is just within your reach.

1-new-Gold-Eyeshadow-2014-collection

  1. Opt for Light Beige Base to Make Your Shadow Pop. Although a pure white base can make your shadow pop, it’ll make your eyes appear cartoonish and artificial. Instead, use a very light beige base to get more natural undertones and to allow each shadow you’re using to be truer to its shade.
  1. Use an Oval Brush for Your Shadow Application. Forget about using separate brushes for each shadow colour that you use. Instead, use a large oval brush in applying your eyeshadow layers. Lightly sweep your base colour over your lid and just add more product if you want to create a deeper eye look. Once you’re done, blend out your layers using your clean fingertips.
  1. Create Crisp Edge Using Post-It Notes. When it comes to blending eyeshadows, everyone has different standards – but if you’re a big fan of crisp outer edges, then this hack will work wonders for you. Just place some Post-It notes on the outer edge of your lid to create a distinct line in each corner. Blend the shadows as needed, take the Post-It’s off and no more rogue eyeshadows.

card-credit-easy-eyeliner-Favim.com-2296021

  1. Make it Your Liner Alternative. If you’re thinking of sporting a soft, blown-out eyeliner look, then use your eyeshadow instead of your eyeliner. Wet your liner brush first, then draw on your shadow with a steady hand. Just be careful in wetting your shadow though, since some shadow formulas aren’t designed to withstand moisture, and a wet eyeshadow pot can turn into a breeding ground for microbes.
  1. Create Eye Depth Using One Shadow. This may sound surprising, but you don’t really need to use multiple colours to create a complex eye look. Just choose a shadow that has a complex mix of pigments, so that you’ll have several under- and overtones to choose from. If you want, you can also use a multi-dimensional shadow to achieve an effortless eye makeup look.

Eyeshadows can quite tricky to use, especially for makeup newbies. So keep these simple hacks in mind and you’ll surely get the perfect eyeshadow look that you want.

1381533518924662

Read More

4 Ways to Pool and Beach Water-Proof Your Hair

Jun 18

Swimming outdoors is definitely one of the best things about summer. Just the mere sight of the ocean, pool or lake already inspires the cannonballs and swan dives in us. But when it comes to our hair? Well, that’s another story. Sun, salt and chlorine can really do a number on our strands – drying it out, stripping its colour and leaving it all knotted around.

chlorine_hair

So unless you’re willing to wear a swimming cap every time you dive into the water, try out these tips to save your locks from all the ravages of the warm weather.

  1. Slather Some Sunscreen. Although they’re made of dead cells, our hair still needs some UV protection especially if you’re preserving its colour. Keep your locks safe from the harmful UVs by slathering on some leave-in conditioners that contain UV protection. Ensure that your hair is generously coated with this product before diving into the beach or the pool.
  1. Fill Your Hair Up. Hair soaks up anything that is applied on it, and if you fill it with the good things beforehand, there won’t be enough room for it to absorb chlorine or salt water. Just put a mixture of hair conditioner and water in a spray bottle, and liberally spray it on your hair before taking a dip. If you want, you can also saturate your hair in an outdoor shower before diving into the pool.

20121007_175755

  1. Wash It Out. Instead of shampooing your hair before swimming, wash it out with a clarifying shampoo after long periods of swimming in the beach or the pool. Allowing the chlorine and other hair drying chemicals to linger on your hair for long periods will only cause more damage, so it would be best to immediately wash your hair to prevent the damage altogether.
  1. Tame Your Strands. Our hair is at its weakest when it’s wet, which is why it’s important that you avoid brushing it as you get out of the pool. A good way to tame your strands after taking a good swim is to run a dollop leave-in conditioner through your hair and gently detangle it after swimming. Tying your hair into a bun or braid is also a good protective measure against the post-swim tangles.

Your skin isn’t the only thing that you should protect during the warm weathers. Your hair also needs the same amount of protection and you can do it by keeping these tips in mind.

best-leave-in-conditioner-L

Read More