The Basics of Charcoal Drawing
Oct 02
If you have been drawing with pencils and pens for most of your life, you will find the dramatic strokes of charcoal a bit more challenging.
Here are some essential things you need to know about charcoal drawing before trying the new medium.
Basic Charcoal Drawing Materials
To practice drawing with charcoal, you will need the following materials:
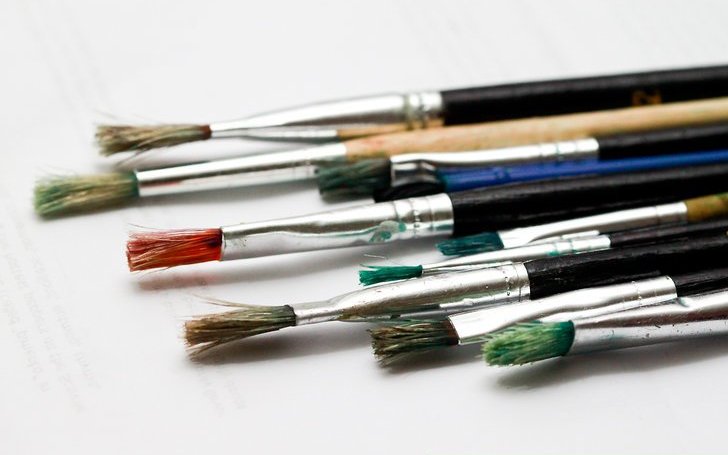
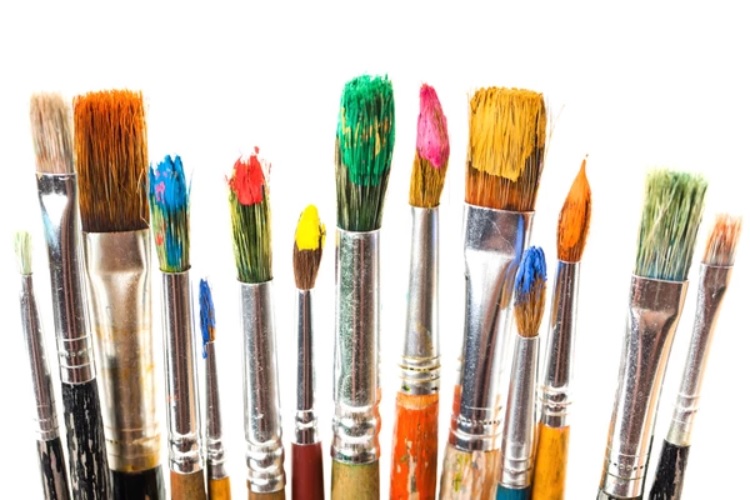
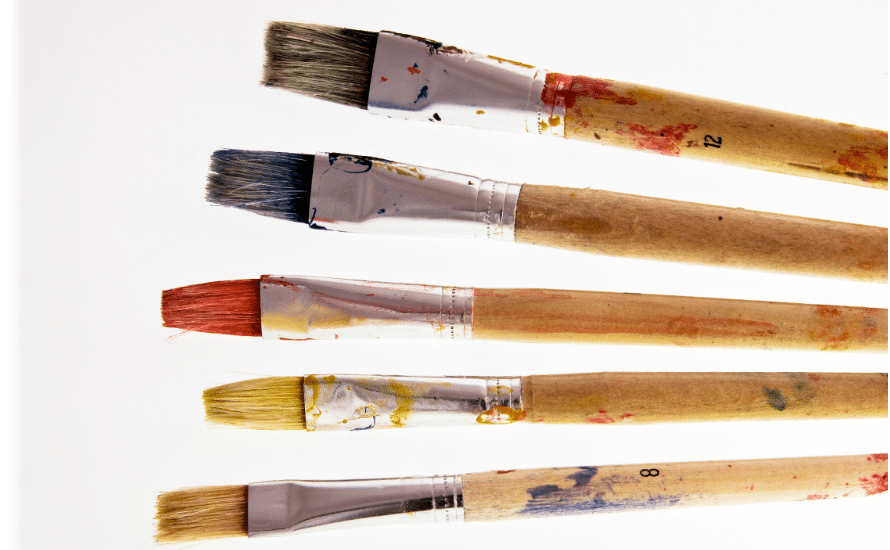
- Charcoal
- White chalk
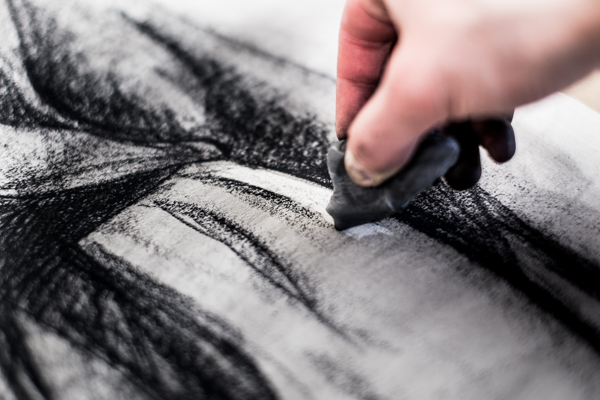
- Kneaded eraser
- Tortillon or blending stump
- Chamois
- Drawing paper
- Drawing pencils and sharpener
- Sanding block or sandpaper (for compressed charcoal)
- Fixative
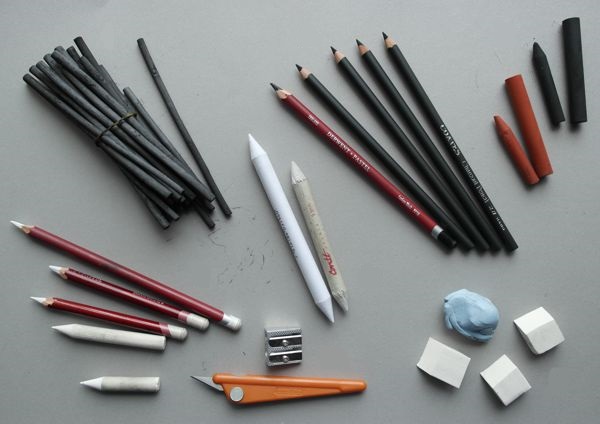
Charcoal can be in any form; such as charcoal sticks or vines also known as carbonized wood, charcoal pencils or compressed, conte crayons or charcoal mixed with gum binder or wax or clay, charcoal powder or ground charcoal, and willow charcoal that came from burnt willow vine.
You can experiment with any of these materials to determine which can achieve the desired affects you have in mind. When you purchase a set of charcoal materials, some labels will have a hardness rating similar to graphite pencils, such as H, HB, and 2B. Some labels, however, vary among manufacturers, so be sure to try the product on a piece of paper before purchasing.
The chamois and tortillon are used for blending, while the white chalk can be used to create the lighter portions of the drawing. As for the drawing surface, use heavyweight paper that is at least 70 pounds so it can hold the charcoal.
Basic Charcoal Drawing Techniques
Before doing any sketches, you should try creating lines and shapes using the different types of charcoal you have purchased. That way, you will get a feel of how to properly hold each material and how hard you need to press to achieve the desired effect. The pencil, for example, should be held differently than the stick and vine charcoal.
Most of the drawing techniques you have learned with graphite pencils and pens can be used with charcoal, but you should master techniques for shading and hatching to make the most out of the dramatic and expressive lines of the medium.
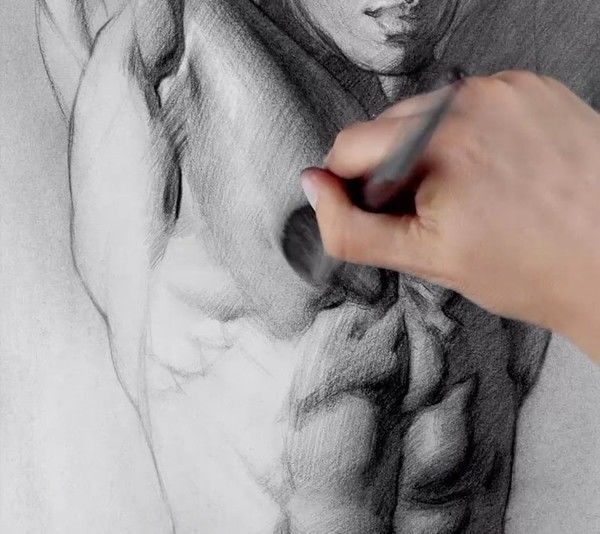
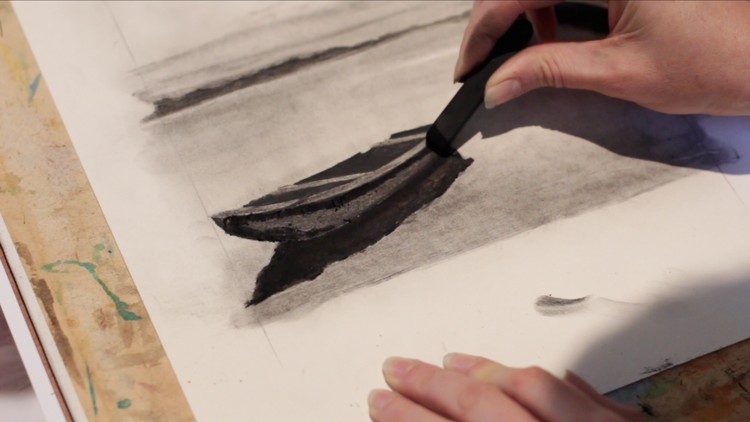
When you have selected a subject, start by drawing lines to create an outline. Refine the lines and curves of the sketch until it resembles the subject matter. Then, using a chamois or blending stump, rub on some areas to create a contrast of darks and greys. To create highlights, use the kneaded eraser and gently wipe a small piece on some areas to lift the charcoal. After that, it’s time to create values by repeating the same steps until the drawing is finished.
Fixative for Charcoal Drawing
Charcoal drawings can smudge easily, that is why you will need a fixative to keep the material on paper. There are different types of fixatives in art shops in Singapore, so find the product that is non-yellowing, doesn’t have a strong odor, is quick-drying, and is designed for charcoal and pencil (some fixatives cannot be used on pastels).
Read More